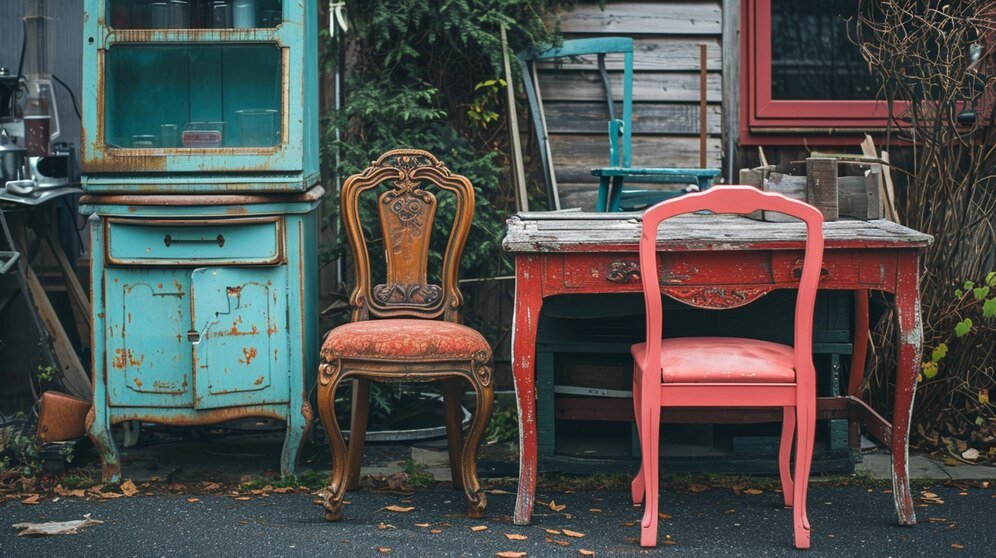
Have you ever looked at an old piece of furniture and thought, “What a shame it’s seen better days”? You’re not alone! Many of us have that beloved chair or side table tucked away, collecting dust, and yearning for a little TLC. But the thought of refinishing it can feel daunting. Will it take too much time? What if I ruin it? Fear not! With just a few simple steps, you can transform that drab piece into something fabulous. Let’s dive into the process of giving your furniture the makeover it deserves!
The Problem: Old Furniture Doesn’t Have to Stay That Way
Old furniture can carry memories, style, and character. Yet, wear and tear can turn it into an eyesore. Maybe you’ve inherited a vintage piece that no longer fits your decor, or perhaps you picked up a thrift store find that has great potential. Whatever the reason, you might be hesitant to take on the challenge of refinishing. What if it turns out worse than before? Can you really do this yourself without professional help?
Don’t worry! By the end of this article, you’ll see just how achievable this project can be. Let’s tackle those fears and turn that old furniture from drab to fab together!
Step 1: Gather Your Supplies
Before diving in, you’ll want to gather the right tools. Here’s what you’ll need:
- Sandpaper (various grits)
- Paint or wood stain
- Paintbrushes and/or a foam roller
- Clean cloths
- Wood filler (if needed)
- Sealant or topcoat
Having everything on hand will keep the process smooth and enjoyable. Trust me, it’s way more fun when you’re not running back to the store every five minutes!
Step 2: Prep Your Piece
This step is crucial! Start by cleaning your furniture thoroughly to remove any dust and grime. If there are any nicks or scratches, use wood filler to smooth things out. Once that’s done, grab your sandpaper. Lightly sand the entire surface to create a “tooth” for the paint or stain to adhere to.
Feeling overwhelmed? Remember, you’re just prepping—this is the fun part where you’re transforming the surface! Take your time and don’t rush.
Step 3: Choose Your Finish
Now comes the fun part: choosing your paint or stain! Think about your style and how this piece will fit into your home. Want a modern look? Go for a bold color. Prefer a classic vibe? A rich wood stain could be perfect. Test a small area first to see how the color looks on your furniture. This is your chance to experiment—don’t be afraid to make it your own!
Step 4: Apply the Finish
With your finish chosen, it’s time to get painting or staining! Use long, even strokes to cover the surface, ensuring you’re not leaving behind streaks. If you’re using paint, a foam roller can help achieve a smooth finish. Remember, less is more—apply thin coats and allow them to dry completely between applications. You can always add more!
Feeling uncertain about your brushwork? Just take a deep breath. It doesn’t have to be perfect on the first try! You’re creating something unique and beautiful.
Step 5: Seal the Deal
Once you’re happy with the finish and it’s dry, it’s time to protect your masterpiece! Apply a sealant or topcoat to safeguard your furniture against wear and tear. This step will help your refinished piece last for years to come. Again, thin layers are best—just let each coat dry completely before applying the next.
Final Thoughts: Enjoy Your New Furniture!
And just like that, your old furniture has gone from drab to fab! Step back and admire your handiwork—you’ve not only revived a piece but also added a personal touch to your home. Plus, think of the money you saved by doing it yourself!
Still worried about the process? Remember, it’s all about practice. Each piece you refinish will teach you something new, so embrace the journey! Get started today, and soon enough, you’ll be the go-to furniture refinisher among your friends and family.
So, what are you waiting for? Grab those supplies and start transforming your space, one fabulous piece of furniture at a time!


