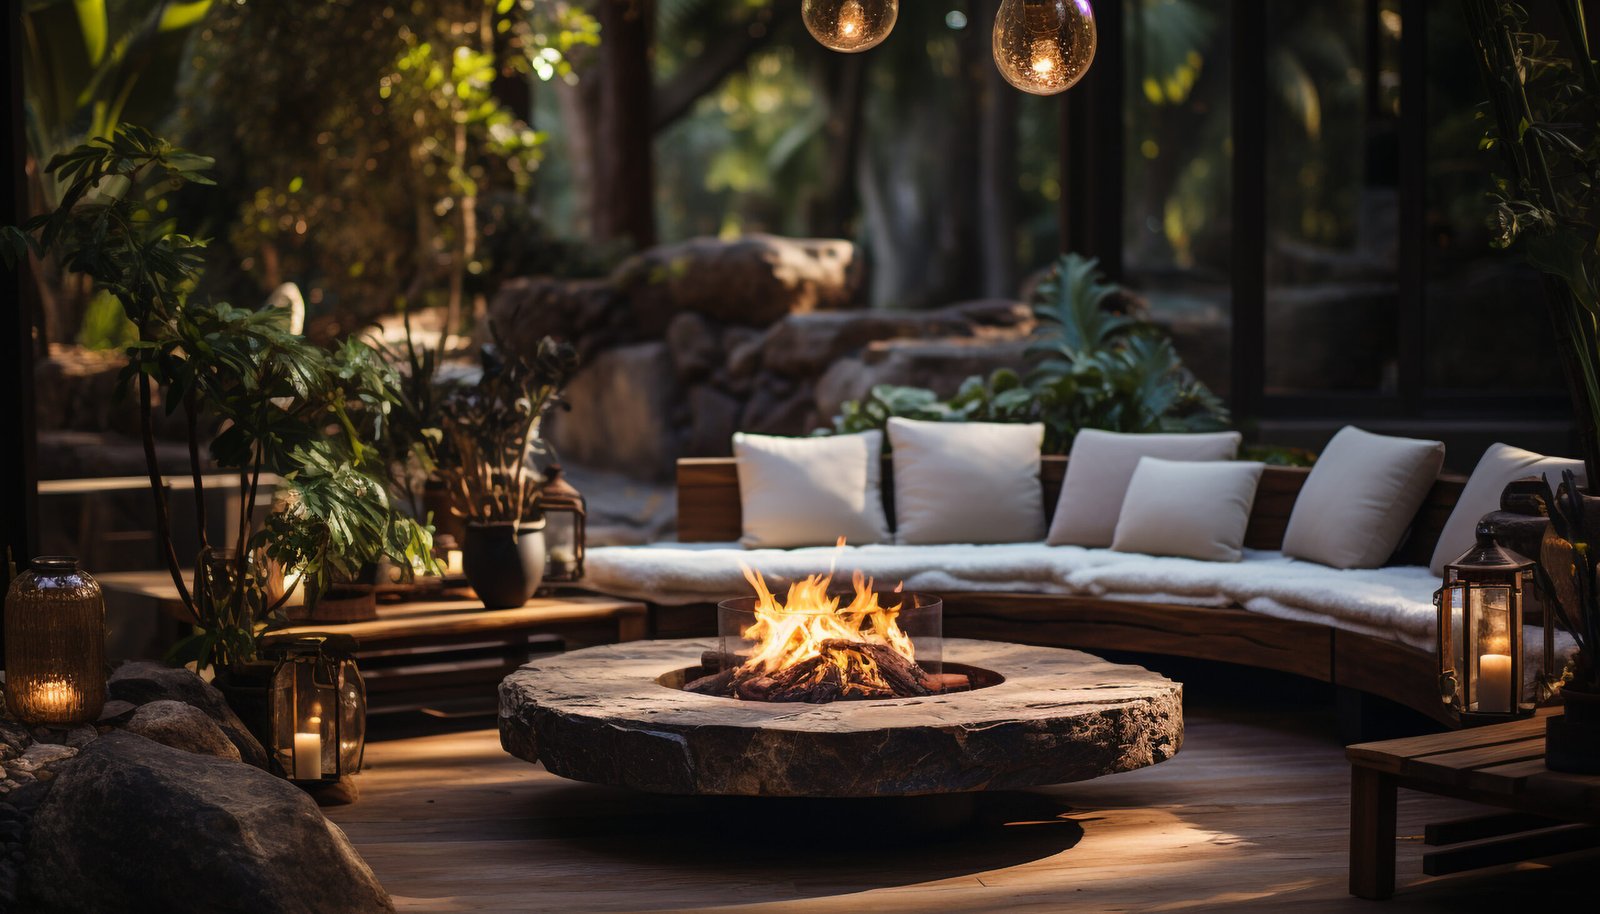
Picture this: a crisp evening, the stars twinkling above, and the warm glow of a crackling fire inviting you to gather with friends and family. Building your own outdoor fire pit can transform your backyard into a cozy retreat perfect for roasting marshmallows, sharing stories, and enjoying the great outdoors. If you’re wondering how to get started, you’re in the right place!
In this guide, we’ll walk you through the steps to create your very own fire pit, ensuring that your evenings are warm and memorable. Don’t worry if you think it’s too complicated—many people believe that building a fire pit requires advanced skills or expensive materials. We’ll address those concerns and show you how achievable this project really is!
Why Build Your Own Fire Pit?
Building a fire pit not only adds charm to your outdoor space but also offers a gathering place for friends and family. While you might consider purchasing a pre-made fire pit, crafting your own allows for customization in size, shape, and materials. Plus, there’s something incredibly satisfying about creating a space that reflects your style!
Ready to Get Started?
Let’s dive into the essential steps for building your outdoor fire pit, along with some helpful tips to ensure your project goes smoothly.
Step 1: Choose the Right Location
Finding the perfect spot is crucial. Look for a flat area away from overhanging branches, structures, and flammable materials. Ideally, your fire pit should be at least 10 to 15 feet away from your home and any other structures. Consider the direction of the wind, too!
Step 2: Decide on the Design
Your fire pit can be as simple or elaborate as you like! Common designs include:
- Circular: A classic shape that’s perfect for gathering around.
- Square or rectangular: Offers a modern look and can fit into smaller spaces.
- In-ground: A more rustic option that blends into the landscape.
Sketch your design to visualize how it will look in your yard.
Step 3: Gather Your Materials
Here’s a list of basic materials you’ll need:
- Fire pit stones or bricks: Choose heat-resistant options like pavers, stones, or fire bricks.
- Gravel: For drainage and stability.
- Sand: To create a base and level the stones.
- Shovel and level: For digging and ensuring everything is even.
- Safety gear: Gloves and safety glasses are a must!
Step 4: Prepare the Ground
Start by marking the area where you’ll build the fire pit. Use stakes and string or spray paint to outline the shape. Then, dig a shallow hole about 6 to 12 inches deep, depending on the size of your fire pit.
Step 5: Create a Base
Pour a layer of gravel into the hole to promote drainage. Then add a layer of sand on top, leveling it out to create a stable base for your stones. This will help prevent the fire pit from shifting over time.
Step 6: Build the Walls
Begin laying your stones or bricks in a circle (or your chosen shape). Stack them to your desired height, ensuring they’re level as you go. You can use mortar for added stability, especially if you want a more permanent structure.
Step 7: Add a Fire Ring (Optional)
For extra safety, consider adding a metal fire ring inside the stone walls. This helps contain the fire and protects the surrounding materials from heat damage.
Step 8: Finish the Surroundings
Once your fire pit is built, enhance the surrounding area. You can add seating with outdoor furniture or create a patio area with gravel, stones, or pavers. This makes for a perfect gathering spot!
Step 9: Safety First
Before lighting your first fire, ensure you have safety measures in place. Keep a bucket of water, sand, or a fire extinguisher nearby. Check local regulations regarding outdoor fires to ensure compliance.
Step 10: Enjoy Your Fire Pit!
Now that your fire pit is complete, it’s time to enjoy it! Invite friends over, set up some comfy seating, and prepare for cozy evenings filled with laughter and warmth. Don’t forget the marshmallows!
Wrap Up
Building your own outdoor fire pit is a rewarding project that enhances your backyard and creates lasting memories. With just a little time and effort, you can create a beautiful space for relaxation and enjoyment.
So, are you ready to warm up your evenings? Grab your materials and get started on this exciting DIY project! Your cozy outdoor retreat awaits.


